Paste Excel Data as a Picture in Powerpoint 2010
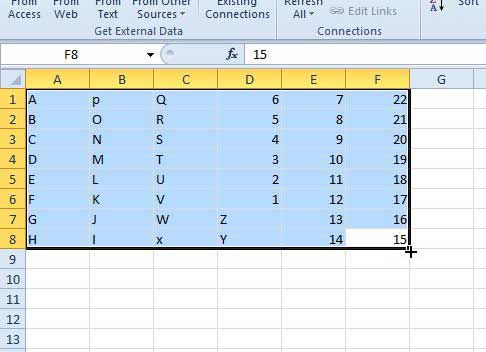
One additional benefit of this option is that you can resize the pasted image the same way that you would any other image. So if the copied data is either too large or small for a slide, you can adjust it easily, without having to modify the layout of the table. Step 1: Open the Excel spreadsheet containing the data you want to insert, and open the Powerpoint spreadsheet into which you want to paste the data. Step 2: Highlight the Excel data that you want to copy, then press Ctrl + C on your keyboard to copy it.
Step 3: Switch to Powerpoint and select the slide into which you want to insert the copied data.
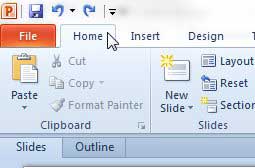
Step 4: Click the Home tab at the top of the window.
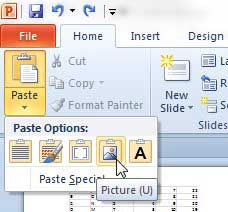
Step 5: Click the Paste drop-down menu in the Clipboard section of the ribbon, then click the Picture option.
You can then feel free to drag the sizing boxes on the perimeter of the image to change its’ size. If you’ve been looking for an inexpensive way to get all of the Microsoft Office programs for multiple computers, then the Office 365 subscription option may be a good choice for you. Click here to read more about this subscription option and investigate pricing. We have also written about how to do this from Excel to Word. After receiving his Bachelor’s and Master’s degrees in Computer Science he spent several years working in IT management for small businesses. However, he now works full time writing content online and creating websites. His main writing topics include iPhones, Microsoft Office, Google Apps, Android, and Photoshop, but he has also written about many other tech topics as well. Read his full bio here.
You may opt out at any time. Read our Privacy Policy