However, it actually has some pretty exciting capabilities that can make it a good choice for creating visually appealing documents as well. Among these features is the ability to create and insert SmartArt, which are graphical elements that you can customize with your own text. One of these SmartArt options is a pyramid that you can configure in a number of different ways. This article will show you how to insert a SmartArt pyramid in Microsoft Excel 2010, as well as point out the menus where you can select the formatting and content options for the object. If you use Google Slides to create presentations, then click here to find out more about adding bullet points to your slides.
How to Create a SmartArt Pyramid in Excel 2010 (guide with Pictures)
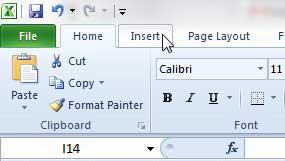
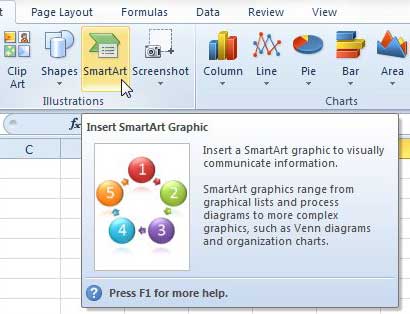
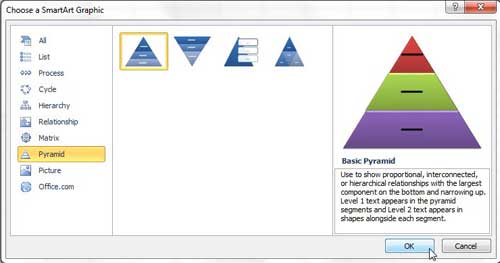
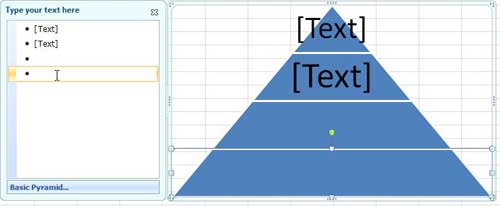
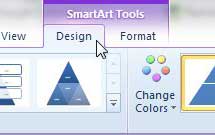
The biggest appeal of the Excel 2010 SmartArt pyramid is simply how it looks. The pyramid itself is very striking, and will certainly draw the eye of anyone that is viewing your spreadsheet. It also provides you with a place to quickly summarize your data, without having to modify any of the original data in your spreadsheet. Continue reading below to learn more about inserting a pyramid in Excel 2010. Step 1: Launch Microsoft Excel 2010. Step 2: Click the Insert tab at the top of the window. Step 3: Click the SmartArt button in the Illustrations section of the ribbon at the top of the window. This is going to open a new window titled Choose a SmartArt Graphic. Step 4: Click the Pyramid option in the column at the left side of the window, choose your preferred pyramid style from the center column, then click the OK button at the bottom of the window. Step 5: Click a bullet point in the column to the left of the pyramid, then type the information that you want to appear in that pyramid level. Note that you can delete pyramid levels by pressing the Backspace key on your keyboard, and you can add pyramid levels by pressing the Enter key on your keyboard. Step 6: Once all of the information that will appear on the pyramid has been added, you can format the appearance by making changes on the SmartArt Tools Design and Format tabs at the top of the window. Clicking either of these tabs will generate a new horizontal menu in the ribbon at the top of the window. Use the settings on these menus to adjust the appearance and structure of the pyramid.
Additional Sources
After receiving his Bachelor’s and Master’s degrees in Computer Science he spent several years working in IT management for small businesses. However, he now works full time writing content online and creating websites. His main writing topics include iPhones, Microsoft Office, Google Apps, Android, and Photoshop, but he has also written about many other tech topics as well. Read his full bio here.