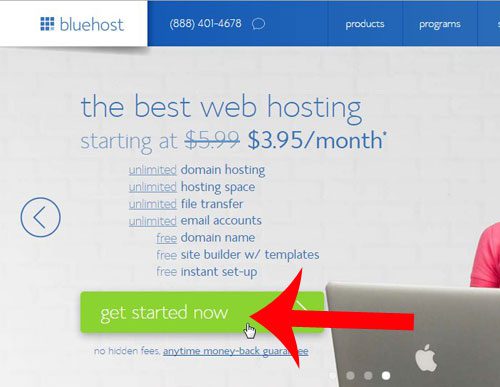
Our guide below will show you how to set up this account at BlueHost. They are an excellent Web hosting provider that offers outstanding customer service, a good product, and an affordable price. If you are just getting started with blogging, then this is one of the easiest and most user-friendly hosting companies around. Step 1: Click here to go to Bluehost’s website. Step 2: Click the green Get Started button at the center of the window.
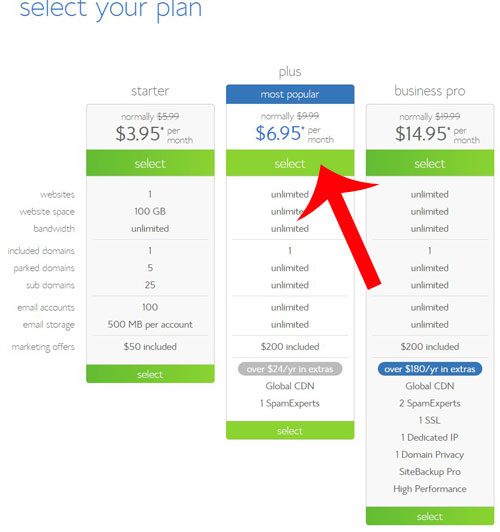
Step 3: The choice in hosting plans is entirely up to you, but if you intend to have more than one website it is probably a good idea to go with the Plus or Business plan.
Step 4: If you followed our previous guide about buying a domain from GoDaddy, then enter that domain into the field at the right side of the window and click Next. If you are looking for a new domain, then use the search field at the left side of the window.
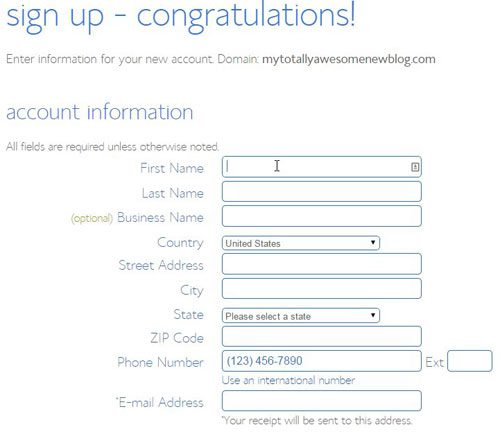
Step 5: Enter your personal information into the Account Information section of the window.
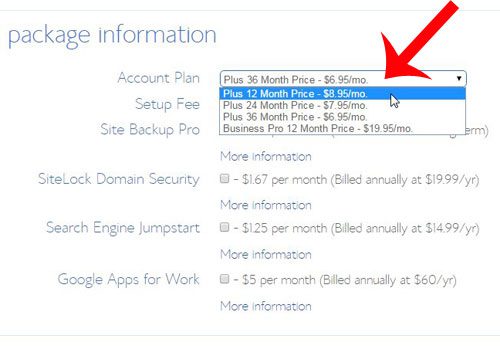
Step 6: Uncheck any options in the Package Information section that you do not want, then select the Account plan that you want to be on. The longer the plan you select, the less money your hosting will cost you each month. Note, however, that Bluehost will bill you upfront for the entire term length that you select, rather than monthly. So if you select the “12 months – $8.95 option”, then you will be charged $107.40. If you would prefer a monthly charge instead, then you might be more comfortable with a host like HostGator.
Step 7: Enter your credit card information into the appropriate fields, then click the green Next button. You can also elect to pay with Paypal by selecting the More payment plans option.
Step 8: Select any of the additional options from this screen that you want, then complete your order. You will receive an email from BlueHost with all of the important information about your hosting account. This email is very important, and you will need to refer to it in the future. Be sure to print out a copy of the email, or mark it as important in your email account. You now have a registered domain name and web hosting account. Our next guide will show you how to change your nameservers at GoDaddy to point to your hosting account at BlueHost. After receiving his Bachelor’s and Master’s degrees in Computer Science he spent several years working in IT management for small businesses. However, he now works full time writing content online and creating websites. His main writing topics include iPhones, Microsoft Office, Google Apps, Android, and Photoshop, but he has also written about many other tech topics as well. Read his full bio here.
You may opt out at any time. Read our Privacy Policy