One helpful way to resolve this issue is to enable and use the guides in Powerpoint 2013. These are small dotted lines that indicate the vertical or horizontal centers of the slide. And if you need to align something in a way other than the center, you are able to do so by moving the guides.
How to Show the Guides in Powerpoint 2013
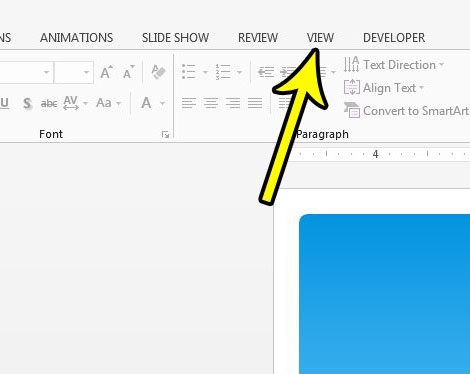
The steps in this article were performed in Microsoft Powerpoint 2013. Completing this tutorial will turn on the guides for your slides. By default the guides will be centered horizontally and vertically, but you can click on them and drag them to put them into different locations. You will also be able to snap slide objects to the guide if desired. Step 1: Open Powerpoint 2013. Step 2: Click the View tab at the top of the window.
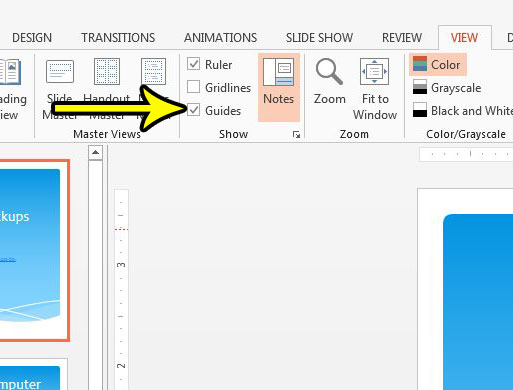
Step 3: Check the box to the left of Guides in the Show section of the ribbon.
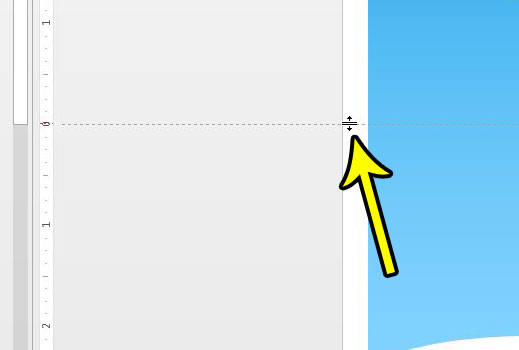
You should now see thin dotted lines running vertically and horizontally across your slides. If you place your mouse cursor near one of these lines it will transform into a tool that you can use to click and drag on the line to move it.
Does your Powerpoint presentation require a slide size that is different than the one that is currently set? Learn how to change the slide size in Powerpoint 2013 and select a size that is more appropriate for your needs. He specializes in writing content about iPhones, Android devices, Microsoft Office, and many other popular applications and devices. Read his full bio here.