By default, Microsoft Excel 2010 will print your spreadsheet based upon how you have configured your data in the worksheet cells. Since many Excel users start creating their spreadsheets from the A1 cell, this means that most Excel 2010 documents print from the top-left corner of the page. You can change this, however, by adjusting a few page settings for your document. For example, if you want to center a worksheet horizontally and vertically in Excel 2010 when the document is printed, it is possible to configure your sheet so that your desired print layout occurs.
How to Center a Worksheet Horizontally and Vertically on the Page in Excel 2010
Our article continues below with additional information on centering a worksheet horizontally and vertically in Excel, including pictures of these steps.
How to Print an Excel 2010 Spreadsheet in the Middle of the Page (Guide with Pictures)
If you have attempted to achieve this effect on your own, then you likely investigated many of the options on the Print menu in Excel 2010. While you can achieve most of your required print settings from that menu, such as printing a two page spreadsheet on one page, this particular option is found on a different menu.
Step 1: Begin by opening the Excel spreadsheet in Excel 2010.
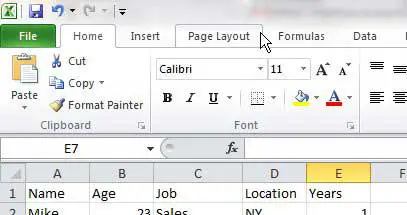
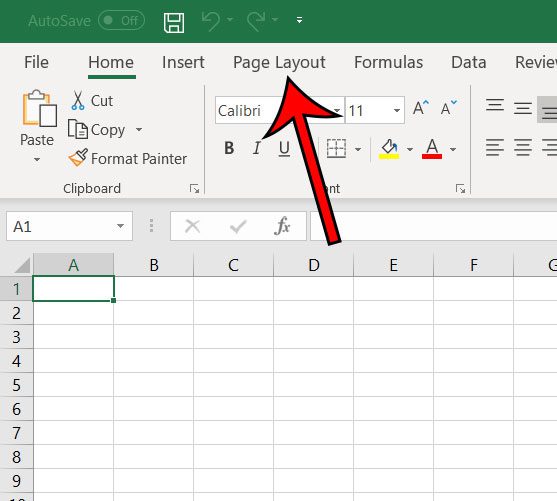
Step 2: Click the Page Layout tab at the top of the window.
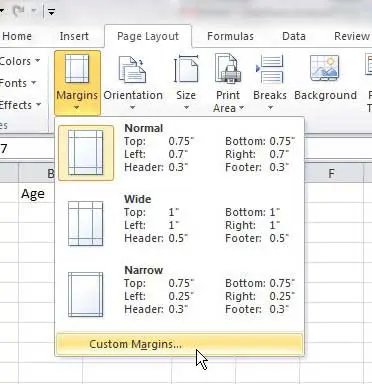
Step 3: Click the Margins drop-down menu in the Page Setup section of the ribbon at the top of the window, then click Custom Margins at the bottom of the drop-down menu.
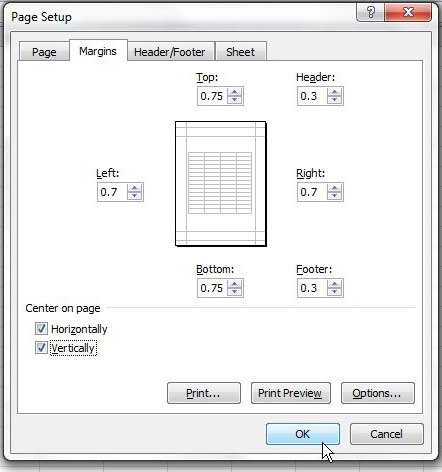
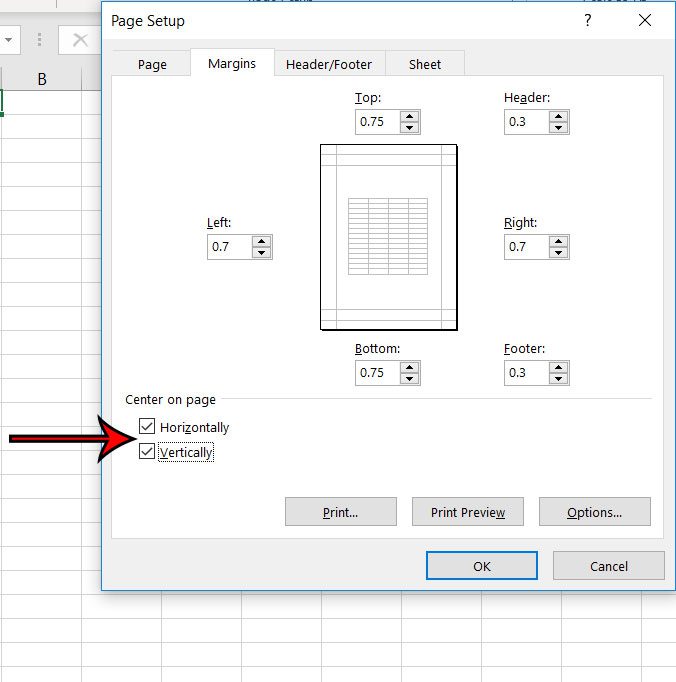
Step 4: Check the boxes at the bottom-left corner of the window under Center on page, to the left of Horizontally and Vertically.
Step 5: Click the OK button.
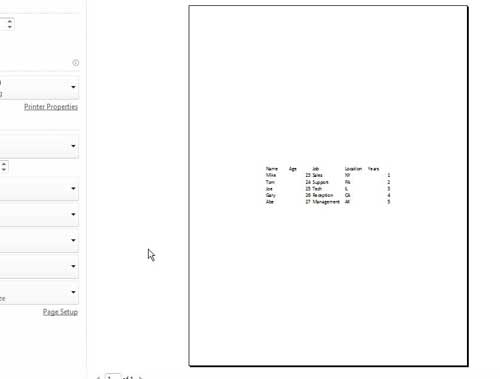
You can then see what your printed Excel spreadsheet will look like on the page by clicking the File tab at the top-left corner of the window, then clicking the Print option. For example, a small sample set of data that I created looks like this when centered – You can also access the Print menu by pressing Ctrl + P on your keyboard at any time. You can also make slight adjustments to your margins if you need to tweak the layout of your centered information.
Alternate Method for Centering a Worksheet in Excel
The steps above enable you to center your printed spreadsheet horizontally and vertically through the Margins menu, but you can also access this menu in another way.
Step 1: Click the Page Layout tab.
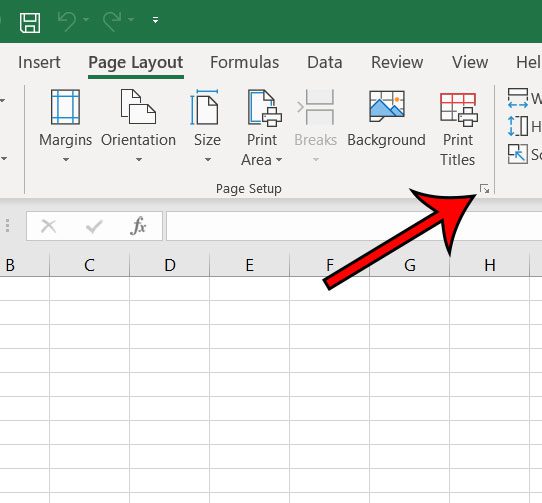
Step 2: Click the small Page Setup button at the bottom-right corner of the Page Setup section of the ribbon.
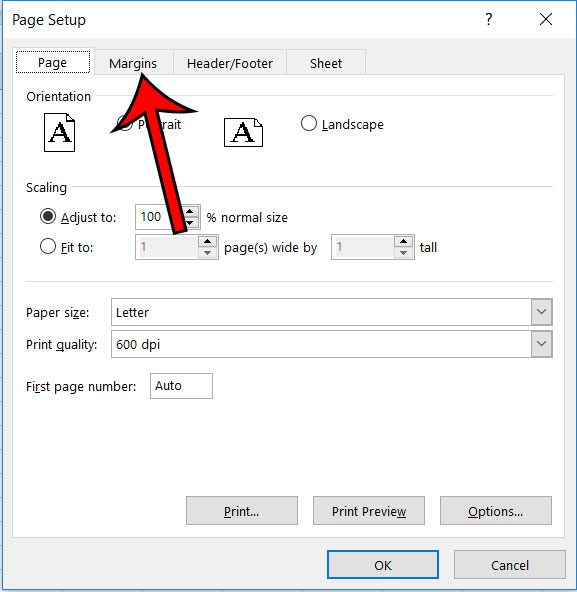
Step 3: Choose the Margins tab at the top of the window.
Step 4: Check the box to the left of Horizontally or Vertically, based on your centering needs.
The methods described above are just one of the many ways that you can improve the way your spreadsheet prints. This guide walks you through some more of the options that can make printing in Excel a little easier.
More Information on Centering When Printing in Excel
While adjusting the print settings for a document that you have created can be somewhat simple once you familiarize yourself with everything, it can be a nightmare when you are working with a spreadsheet that someone else created. If you have hit a roadblock and aren’t able to remove one of their formatting options, one of the best things you can do is simply copy all of the data in the cells, then paste it into a new spreadsheet. You can select all by clicking on the gray button above the row 1 heading, and to the left of the column A heading. You can center both horizontally and vertically in Excel by going to Page Layout > Page Setup> Margins> then checking the boxes next to the Horizontally and Vertically options. This means that centering a table for printing in Excel requires you to check the Horizontally or Vertically boxes found on the Margins tab of the Page Setup dialog box. If you want to change the orientation of every worksheet in an existing workbook, simply right click on one of the sheet tabs at the bottom of the window, then choose the Select All Sheets option. You can then click the Page Layout tab, click the Orientation button, then select the desired orientation. Because all of the worksheets were selected, this results in all of them having the same page orientation when you print them. Note that Excel does not care how big the cell data becomes when you choose this setting. It will print everything in unreadably small text if it’s a very large spreadsheet. The Page Setup dialog box that you open when clicking that tiny button in the ribbon provides access to probably the most important menu when it comes to formatting a printed spreadsheet. Check out each of those tabs so that you can do things like center the worksheet horizontally or vertically, repeat rows at the top of each page, or even create custom margins for your printed sheet. The Print Preview window that you see at the right side of the screen on the Print menu is a very useful tool that can prevent you from wasting a lot of ink and paper. After you make an adjustment to your document’s layout, open that Print menu and check the Print preview to ensure that it has created the desired result. You can open the Print menu more quickly with the Ctrl + P keyboard shortcut. If your printed page is just slightly off, then there are some minor changes you can make before taking drastic measure. Try switching the worksheet from portrait or landscape orientation to the other option, or use the custom margins option to make the margins smaller. There is also a button on the Print menu that says “No Scaling” by default. If you click that button you will see options to fit the whole sheet on one page, or simply fit all of the rows or columns on one page. I use this a lot when I have a spreadsheet that is printing extra pages that only have a row column or two on them.
Additional Sources
How to subtract in ExcelHow to sort by date in ExcelHow to select non-adjacent cells in ExcelHow to unhide a hidden workbook in ExcelHow to make Excel vertical text
After receiving his Bachelor’s and Master’s degrees in Computer Science he spent several years working in IT management for small businesses. However, he now works full time writing content online and creating websites. His main writing topics include iPhones, Microsoft Office, Google Apps, Android, and Photoshop, but he has also written about many other tech topics as well. Read his full bio here.